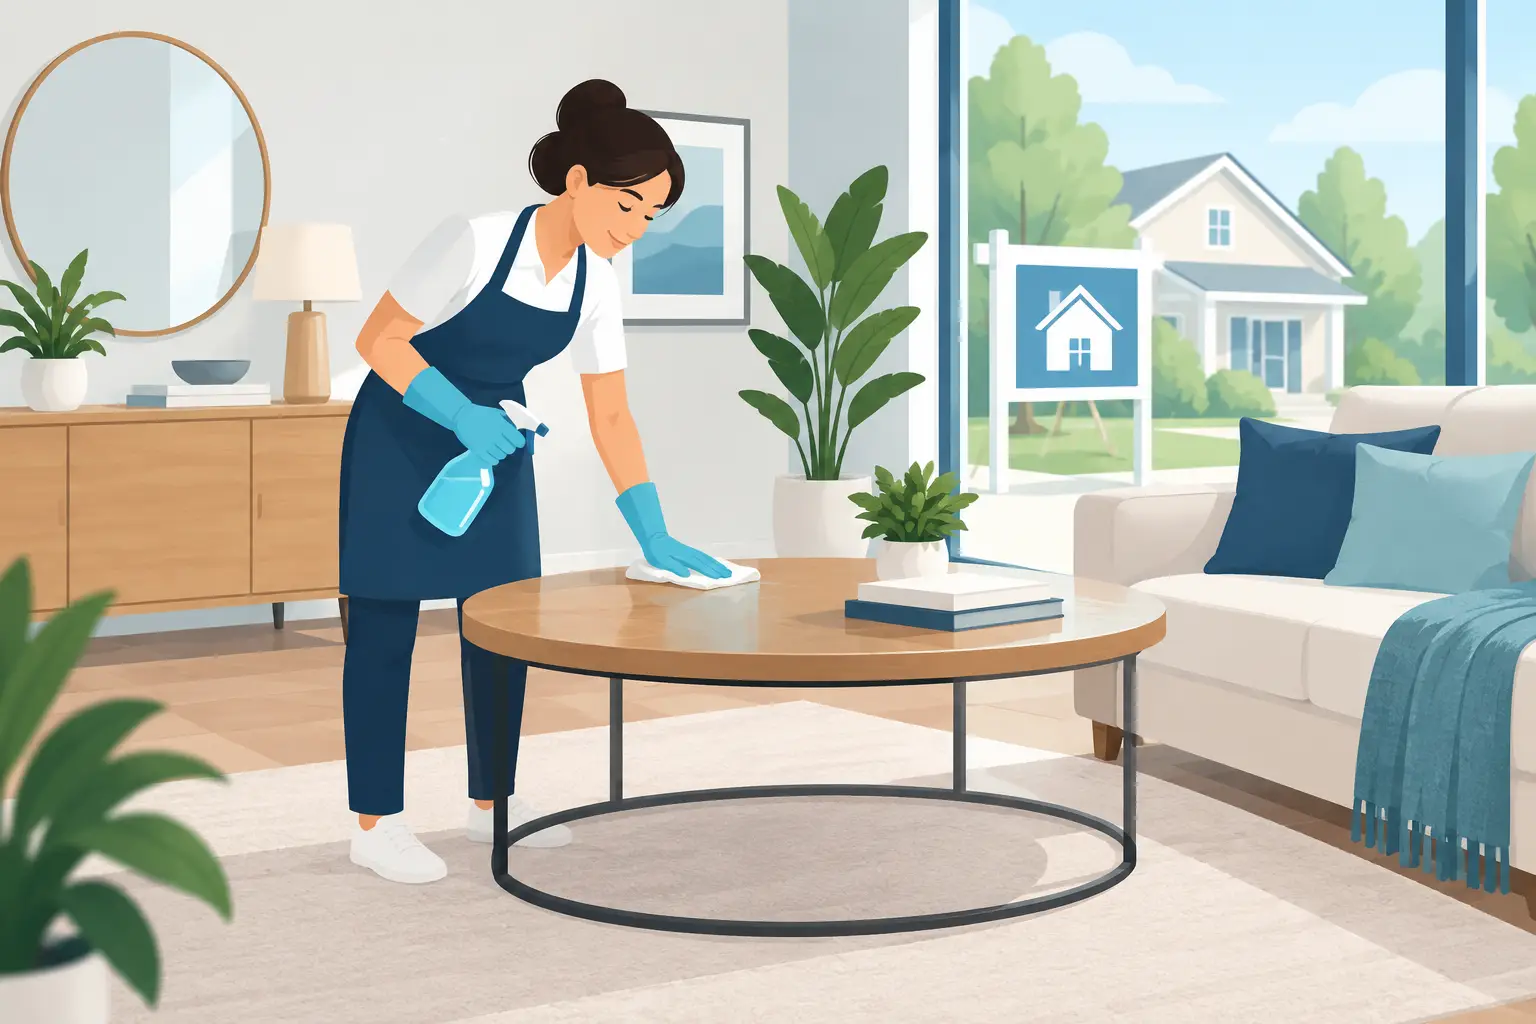
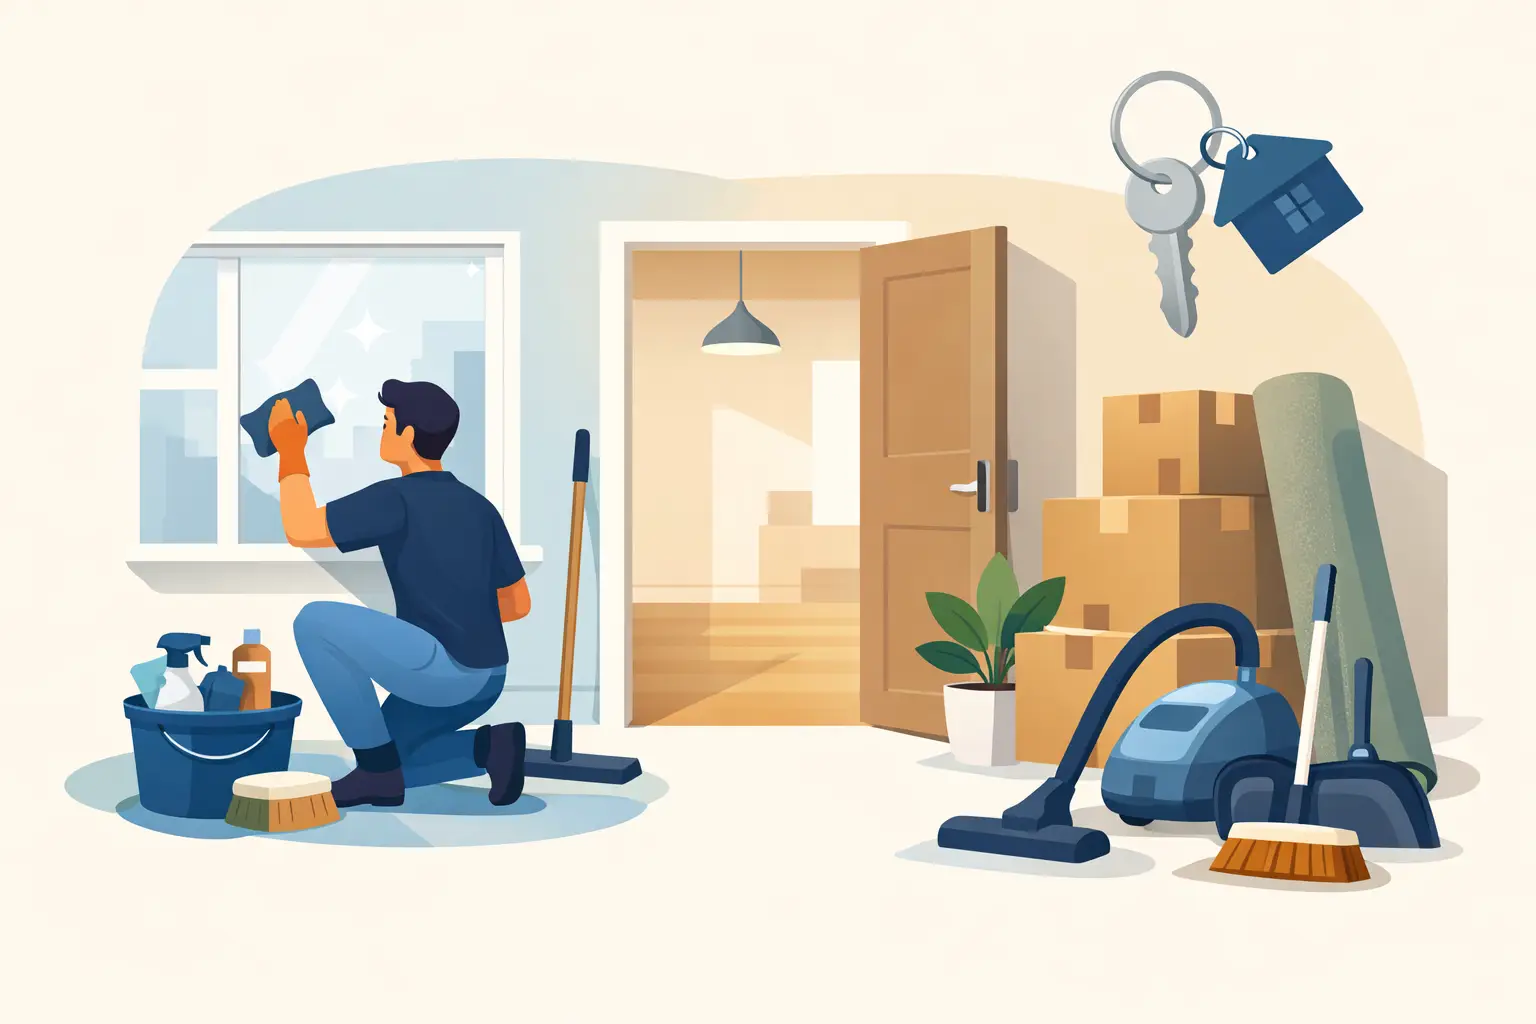
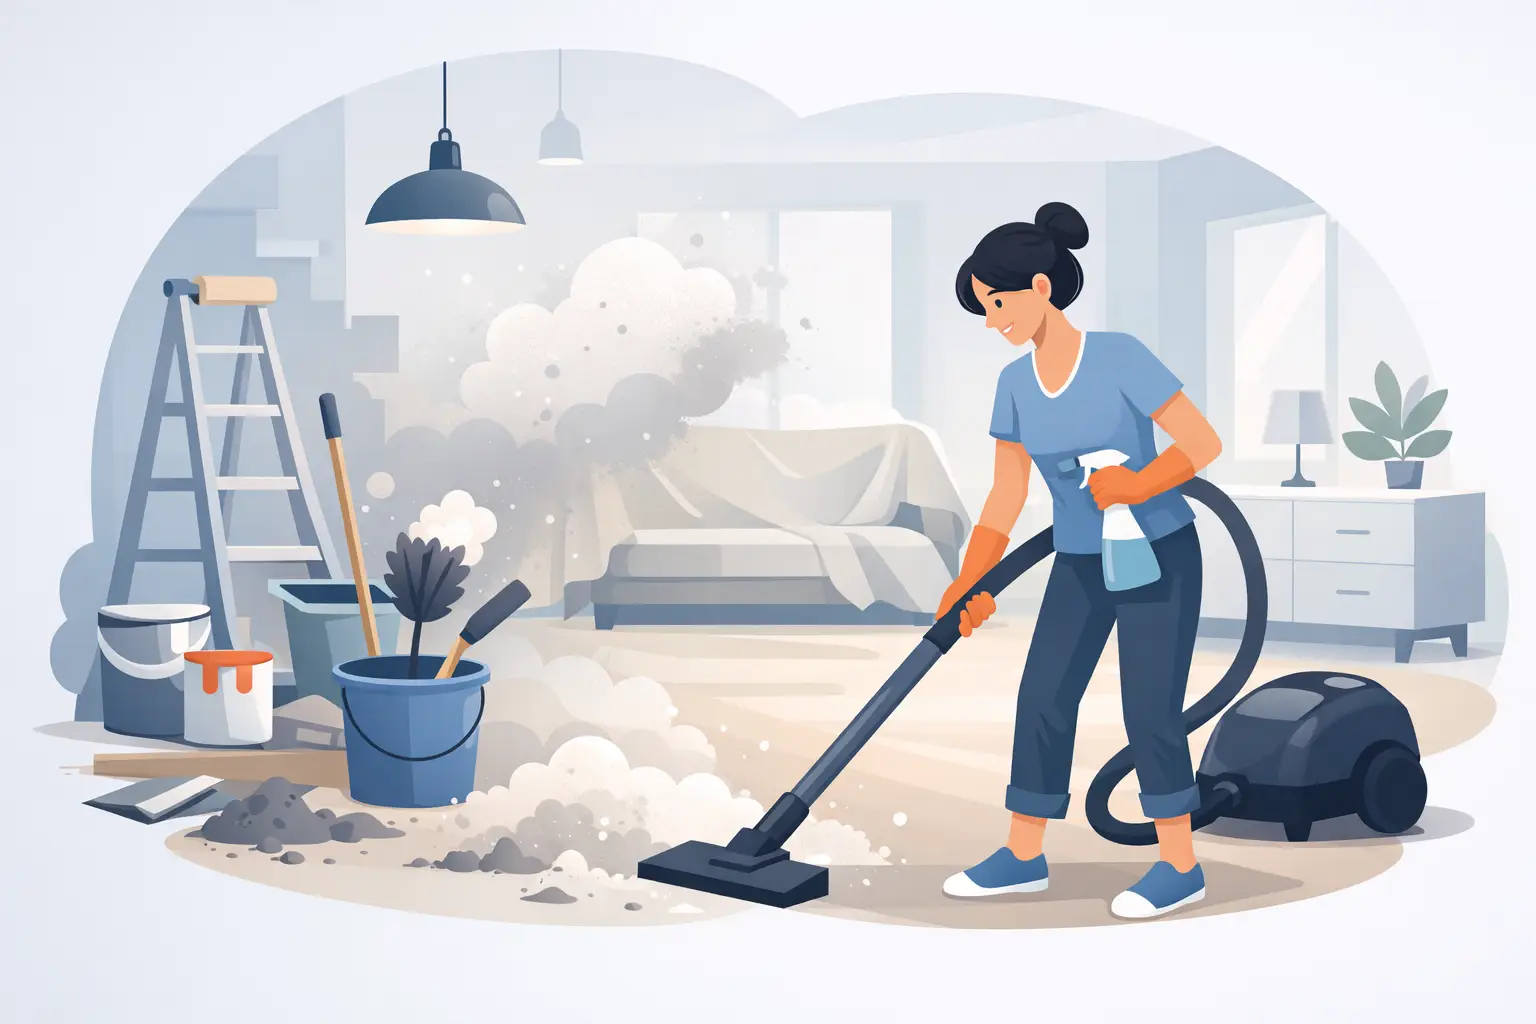
The best answer to when to book pre-sale cleaning is usually earlier than most sellers expect. Cleaning should be one of the final presentation steps, but it needs to be scheduled around repairs, styling, photography and inspection dates. Leave it too late and a rushed clean can become another pressure point in an already busy sale campaign.
A professionally cleaned home does more than look tidy. It helps buyers see the space, light and condition of the property without being distracted by dusty skirting boards, marked glass, bathroom build-up or lingering cooking smells. That first impression matters whether you are preparing a family home, apartment, investment property or unit for sale.
When to book pre-sale cleaning in the sales timeline
For most homes, book your pre-sale clean one to two weeks before professional photography or the first open inspection. This gives you a confirmed place in the cleaner’s schedule and enough flexibility if painting, minor repairs or trades work runs over time.
The actual cleaning visit should take place after dusty or messy work is complete. If painters, electricians, flooring installers or handymen are still coming through the property, their work can quickly undo a detailed clean. Arrange the clean once those jobs are finished, then keep the home as low-traffic as possible before photos and inspections.
If your property will be professionally styled, the order depends on the scope of the clean. A thorough pre-sale clean is often best completed before stylists bring in furniture, rugs and accessories, so cleaners can reach every surface properly. A lighter touch-up clean after styling may still be worthwhile, particularly for kitchen benches, bathrooms, floors and windows that may collect dust during the set-up.
For a Melbourne property going to auction, aim to have the major clean completed before the campaign launches. Auctions often involve several weeks of open homes, and starting with a properly cleaned property makes the ongoing upkeep far easier. You may only need a short refresh before later inspections rather than trying to restore the whole house each weekend.
Work backwards from photography and inspections
Photography is often the real deadline, not settlement day. Online listings create the first viewing for many buyers, so the property should be at its cleanest before the photographer arrives. Dirty shower screens, streaky windows and cluttered surfaces can show up more clearly in photographs than they do in everyday life.
Start by asking your agent for confirmed dates for photography, the campaign launch and the first open home. Then allow time for the jobs that come before cleaning. A sensible sequence may look like this:
Declutter, donate unwanted items and pack personal belongings.
Complete repairs, painting, gardening and any necessary maintenance.
Book carpet, curtain or window cleaning if those services are needed.
Schedule the full pre-sale clean before styling, photography or both.
Plan brief touch-ups before each inspection during the campaign.
This order is not fixed for every property. If a home is vacant and being extensively styled, cleaning before the stylist arrives is usually more efficient. If you are living in the property with children or pets, a close-to-photography clean may be the better choice, followed by a practical plan to maintain the result.
How far ahead should you book?
Booking one to two weeks ahead is a good minimum, especially when you need a specific day or have several services to coordinate. During busy selling periods, school holidays or the lead-up to major public holidays, booking earlier can provide more choice and less stress.
Consider booking two to three weeks ahead if your property is large, has not been professionally cleaned for some time, includes carpets and windows, or needs after-renovation cleaning. These homes may require more than a standard clean, and a clear conversation about the condition of the property helps ensure enough time is allowed.
A smaller, well-maintained apartment may need less notice, but it is still wise not to wait until the day before photos. A quality clean involves more than a quick vacuum and wipe. Kitchens, bathrooms, glass, floors, internal surfaces and high-touch areas all need attention, and you should have time to address any unexpected issues without panic.
Choose the clean that matches your property
Pre-sale cleaning is not always the same as a regular weekly clean. A recurring service keeps a home under control, while a sale campaign calls for detail that helps the property feel cared for and ready for inspection.
For homes that are already consistently maintained, a detailed general house clean may be enough. This can focus on the kitchen, bathrooms, dusting, mopping, vacuuming and presentation of the main living areas. If you have an ongoing cleaning arrangement, schedule the service immediately before photography or an open home and ask for attention to the areas buyers notice first.
For properties with marked carpets, pet hair, visible dust, built-up grime or windows that affect natural light, add specialist services where needed. Carpet cleaning can lift the overall appearance of bedrooms and living spaces, while clean windows can make rooms feel brighter and more open. Curtains may also need professional attention if they hold odours or look dusty.
A recently renovated property needs a different approach again. Fine construction dust can settle on floors, ledges, cabinetry and inside cupboards even after the work appears finished. An after-renovation clean is designed to deal with that residue before the property is photographed and inspected.
Be realistic about what cleaning can and cannot do. Cleaning can improve presentation significantly, but it will not repair mould damage, cracked tiles, worn carpet or peeling paint. Deal with maintenance concerns before the clean where possible, then let cleaning reveal the home at its best.
Why last-minute cleaning can cost you time
Sellers often leave cleaning until the final few days because there is so much else to manage. Packing, agent meetings, paperwork and repairs can make the house feel like one more task on a long list. The problem is that last-minute bookings limit your options and may force you to clean around trades, boxes or styling furniture.
There is also a practical issue: once a home has been deeply cleaned, it needs protecting. If removalists, painters, pets or a busy household move through it afterwards, floors and bathrooms may need attention again. Booking early enough allows you to plan the sequence rather than paying for work that is immediately undone.
For occupied homes, set aside a small basket or cupboard for everyday essentials after the main clean. Keep bench appliances, excess toiletries, pet items and paperwork out of sight between inspections. A few minutes of maintenance before an open home is much easier than trying to recover from a fortnight of normal family life.
Keep the property inspection-ready
The first clean creates the standard. Maintaining it is what helps the home stay appealing throughout the campaign. Before each inspection, ventilate the property, empty rubbish bins, wipe bathroom basins, check mirrors and glass, vacuum or sweep high-traffic areas, and make sure the kitchen is free from dishes and strong food smells.
If inspections run across several weekends, a recurring weekly or fortnightly service can take pressure off your household. This is particularly useful for busy professionals, families and landlords who do not live near the property. A reliable cleaning team can help maintain a consistent standard while you focus on the sale itself.
At House Cleaner, trained and vetted cleaners can assist with one-off pre-sale cleaning as well as ongoing support during the campaign. The right arrangement depends on the property’s condition, your inspection schedule and how much day-to-day upkeep you can manage yourself.
A clean home gives buyers room to imagine living there
Book your clean with the campaign dates in mind, not as an afterthought once the property is already listed. When the repairs are done, the clutter is gone and the cleaning is timed close to photography and inspections, buyers can focus on what the home offers. That calm, well-presented feeling is exactly what you want them to take with them when they leave.
A cleaning subscription is not really about having a spotless bench once a week. It is about coming home without mentally adding bathrooms, floors and dusting to an already full to-do list. In this cleaning subscription review, we look at what recurring cleaning actually offers, where it delivers the most value and how to decide whether weekly or fortnightly support suits your household.
For busy Melbourne households, the appeal is simple: cleaning is booked, expected and handled by people you can get to know. But recurring service is not automatically the right choice for every home. It works best when the scope, schedule and service standards match the way you live.
What a cleaning subscription usually includes
A cleaning subscription is an ongoing arrangement for regular cleaning, most commonly weekly or fortnightly. Instead of arranging every visit from scratch, you establish a routine and the cleaning team returns at the agreed time to complete the priorities set for your home.
Most regular services focus on the areas that make the biggest difference to daily comfort. That generally means bathrooms and toilets, kitchen surfaces, vacuuming and mopping floors, dusting accessible areas, making beds where requested, and emptying household rubbish. The exact inclusions should be clear before the first visit, particularly if your home has particular needs such as pet hair, multiple bathrooms or a home office.
The subscription approach does not mean every cleaning task is included every time. Oven cleaning, internal windows, carpet steam cleaning, curtain cleaning and detailed post-renovation work usually need a separate booking or quote. That is not a drawback if expectations are clear. Regular cleaning keeps the home under control, while specialised tasks can be planned when they are genuinely needed.
Cleaning subscription review: where the value comes from
The strongest reason to choose recurring cleaning is consistency. A one-off clean can make a home look excellent for a day, but a regular schedule prevents the gradual build-up that makes cleaning feel overwhelming. Kitchens stay usable, bathrooms remain pleasant and floors do not reach the point where they demand an entire Saturday.
There is also a practical time benefit. Many customers do not want to spend their limited evenings or weekends maintaining basic household standards. For families, that time may go towards school activities and rest. For professionals, it can create breathing room after demanding workdays. For renters, a regular routine can make the final move-out clean less daunting because the property has been cared for along the way.
Trust is equally important. Letting someone into your home requires confidence in both the people and the process. A worthwhile service should use trained, vetted and background-checked cleaners, provide a clear booking process and make it easy to communicate instructions. The option to have the same cleaner for repeat visits can be especially valuable. They learn how your household operates, understand your priorities and notice when something needs extra attention.
That familiarity is often what turns cleaning from an occasional expense into a useful ongoing service. You should not have to re-explain that the dog sleeps in the laundry, that the study is off limits during work hours, or that one bathroom needs more attention than another.
Weekly or fortnightly cleaning?
Weekly cleaning suits homes that generate mess quickly or need a consistently polished appearance. Families with young children, households with pets, shared homes and people who work from home often benefit most. If visitors, clients or extended family regularly come through the house, weekly cleaning also reduces the pressure of last-minute tidying.
Fortnightly cleaning is often the better balance for smaller households, apartments, couples or people who manage light cleaning between visits. It can maintain a comfortable standard without paying for weekly support. The trade-off is that bathrooms, floors and kitchens may need more attention from you in the second week, especially in busy periods.
A useful test is to consider what happens after two weeks without a proper clean. If the home feels stressful, takes half a weekend to reset or regularly causes arguments about chores, weekly support may be worth considering. If it remains manageable with a quick vacuum and wipe-down, fortnightly service could be the right fit.
What to check before you commit
Price matters, but it should not be the only measure. The lowest quote can be poor value if the cleaner changes constantly, the scope is vague or the booking process becomes difficult whenever you need to adjust a visit. Recurring cleaning should reduce friction, not create more administration.
Before committing, ask how the service handles access, cancellations, rescheduling and extra requests. You may occasionally need to move a booking because of travel, illness, tradespeople or school holidays. Clear notice periods are reasonable, but the process should be straightforward and respectful.
It is also sensible to check whether the provider can support your needs beyond the regular visit. A household may later need a carpet clean, windows cleaned, an end-of-lease service or post-renovation cleaning. A full-service provider can be more convenient because the team already understands the property and you are not starting from zero with a new business.
Pay attention to communication as well. A dependable cleaning company should confirm bookings, explain what is included and provide an easy way to share feedback. If a task was missed or your needs change, you want a prompt response and a practical solution rather than a long back-and-forth.
When a subscription may not be the best option
Regular cleaning is not essential for every household. If you travel frequently, spend little time at home or are preparing for a major renovation, a one-off clean may make more sense. The same applies when your needs are highly occasional, such as a pre-inspection clean, a move-in clean or a deep clean after hosting an event.
Budget is another real consideration. A subscription should feel like a considered investment in time and comfort, not a source of financial pressure. If fortnightly cleaning is outside your budget, a less frequent professional clean paired with your own weekly maintenance may still give you a useful reset.
It also helps to be honest about your expectations. Cleaners can deliver excellent results, but they need reasonable access to surfaces and floors. A regular service works best when the home is lived in, not staged, yet clearing away loose clothing, paperwork and children’s toys allows the cleaner to spend more time on actual cleaning rather than organising belongings.
How to get better results from recurring cleaning
The first visit is the right time to set priorities. Perhaps the kitchen and bathrooms matter most, or perhaps pet hair on upholstery and floors is the main issue. Be specific about the rooms you use, the areas you would prefer left alone and any products or sensitivities the cleaner should know about.
After that, keep communication simple and direct. A short note before a visit can help if there is a spill, a special occasion coming up or an area that needs extra care. You do not need to create a lengthy checklist each time, but clear feedback helps a caring cleaning team maintain the standard you expect.
House Cleaner is built around this kind of ongoing relationship, with regular weekly and fortnightly options designed for people who want reliable help rather than another task to manage. The real benefit is not perfection for its own sake. It is knowing that, whatever the week brings, your home has a dependable rhythm of care behind it.
The best cleaning subscription is one that quietly gives time back to you. Choose a schedule you can sustain, a team you feel comfortable welcoming into your home and a service that makes everyday life feel lighter after each visit.
A cleaner arriving at your door should remove pressure from your week, not create more of it. Knowing how to book cleaners online means looking beyond the first available time slot and choosing a service that understands your home, your priorities and the level of trust involved.
Whether you need help before a rental inspection, a thorough clean after renovations, or regular support to keep family life manageable, online booking can make the process quick and clear. The best result comes from providing accurate details, selecting the right service and setting expectations before the first visit.
Start with the clean you actually need
A standard house clean is not the same as an end-of-lease, after-renovation or carpet cleaning service. Before requesting a quote, consider what needs attention and why. Are you looking for ongoing help with bathrooms, kitchens, floors and dusting? Or are there built-up marks, construction dust, internal windows or a vacant property that needs a more intensive clean?
Choosing the right category matters because it affects the time, equipment and cleaning products required. A cleaner booked for regular maintenance may not be scheduled to remove renovation residue or complete every detail expected for a property handover. Being specific upfront helps the cleaning team arrive prepared and helps you receive a more accurate price.
For a home, note the number of bedrooms and bathrooms, whether there are pets, and any areas that need extra care. For an office or commercial space, include the number of workstations, amenities, common areas and the preferred cleaning hours. Small details can make a significant difference to the scope of the job.
One-off or recurring cleaning?
One-off cleaning suits a particular event: moving house, preparing for guests, getting back on top of cleaning after a busy period, or tackling a property after building work. Recurring cleaning is often the better choice when you want the home to stay consistently clean without having to plan each visit from scratch.
Weekly cleans can work well for busy households, homes with young children or pets, and workplaces with regular foot traffic. Fortnightly cleaning is a practical option for many households that manage the lighter jobs between visits. The right frequency depends on how your space is used, not on a fixed rule.
A recurring arrangement also gives you the chance to build familiarity. Where possible, having the same cleaner visit each time can make the service more consistent, as they learn your home, preferences and priority areas.
How to book cleaners online with confidence
A clear online booking process should make it easy to choose a service, provide property details, select a preferred date and arrange payment. Convenience is valuable, but it should not come at the expense of clarity. Take a few minutes to review what is included before confirming the booking.
Check what is included in the service
Read the service description carefully. Most general cleaning appointments cover routine tasks such as wiping accessible surfaces, cleaning bathrooms and kitchens, vacuuming and mopping floors, and removing rubbish. Tasks such as oven cleaning, internal window cleaning, carpet cleaning, curtain cleaning or intensive wall spot cleaning may need to be selected separately.
This is not about finding fault with a service. It is about ensuring the cleaner has enough time and the right tools for the result you expect. If there is a task you care about most, such as shower screens, skirting boards or pet hair on upholstery, mention it during the booking process rather than assuming it will be covered.
Give an honest picture of the property
Online forms often ask for room numbers, property type and the condition of the space. Answering accurately protects both you and the cleaner. A three-bedroom home that has not been cleaned for several months will require a different level of work from a regularly maintained three-bedroom home.
It also helps to flag practical considerations. Let the provider know about stairs, limited parking, a lift with booking requirements, pets, fragile items or areas that are off limits. In Melbourne apartments, for example, building access and visitor parking can affect how smoothly an appointment begins.
Photos may be useful for unusual jobs, heavy build-up or post-renovation cleaning. They give the team a better understanding of the work and reduce the chance of an unexpected adjustment on the day.
Look for trust signals, not just a low price
Letting someone into your home or workplace requires confidence. Price matters, but the cheapest quote is not always the best value if it leaves you uncertain about who is attending, what happens if there is a problem, or whether the cleaner is properly trained.
Choose a provider that is open about its standards. Look for trained, vetted and background-checked cleaners, clear communication, secure online payment and a straightforward way to raise questions before the visit. A professional cleaning company should also be able to explain its approach to quality and how it handles customer feedback.
For recurring service, ask whether the company can aim to send the same cleaner. Consistency is especially helpful when you have specific routines, pets, access instructions or a preferred order for the clean.
Choose a realistic appointment time
Book a time when access will be simple. If you will be home, decide whether you would prefer to show the cleaner around at the start or give them space to work. If you will be out, confirm the key collection, lockbox, concierge or alarm arrangements well ahead of time.
Avoid booking a deep clean immediately before an important event if the property needs significant attention. Allow a little breathing room in case the job takes longer than expected or you want to complete a quick final tidy afterwards. For move-out cleaning, coordinate the appointment with removalists, trades and property access so cleaners are not working around boxes or furniture.
Prepare your home for a better clean
Professional cleaners can clean more effectively when surfaces and floors are accessible. You do not need to clean before they arrive, but a little preparation lets the team spend their time on cleaning rather than searching for space to work.
Put away clothing, paperwork, toys and personal items from the areas you want cleaned. Clear kitchen benches where possible, remove dishes from the sink, and make sure valuables or confidential documents are stored securely. If you have pets, decide whether they will be home and let the cleaner know about any special instructions.
It is also useful to write down priorities. Perhaps the bathroom needs extra attention this week, or you would rather have the cleaner focus on the living areas before guests arrive. A short, practical note is often more helpful than a long list of vague expectations.
Make the first visit a useful conversation
The first clean sets the foundation for future appointments. If you are available, take a moment to point out anything that may not be obvious, such as delicate surfaces, a leaking tap, products you prefer not to use, or rooms that should be skipped. You can also clarify how you would like to communicate after each visit.
Be realistic about what can be achieved within the scheduled time. If the cleaner identifies extra work, ask what can be completed during the appointment and what may need more time or a separate service. A good provider will communicate clearly rather than rushing through important areas.
After the clean, check the agreed areas while the details are fresh. If something has been missed, contact the company promptly and explain the concern clearly. Reliable cleaning services want feedback because it helps them maintain the standard you are paying for.
Build a cleaning routine that fits your life
Online booking is most useful when it becomes part of a practical routine. Once you have found a caring cleaning team that understands your home or workplace, recurring bookings reduce the effort of constantly comparing quotes and rearranging your schedule.
House Cleaner provides residential and commercial services designed around that need for dependable support, from regular house and apartment cleaning to specialised move-in, move-out and after-renovation cleaning. The aim is not simply a tidy room on one day, but more time and less stress across the weeks that follow.
A well-booked cleaning service should feel straightforward: you know who is coming, what they will do, when they will arrive and how to get help if your needs change. Give clear information at the start, choose a service that earns your trust, and let your cleaner take one demanding task off your list.
The last few days of a tenancy can become a scramble of boxes, keys, removalists and paperwork. Completing the essential pre-tenancy cleaning tasks early gives you time to fix missed areas, present the property well and leave with greater confidence when the final inspection arrives.
For most renters, the aim is simple: return the home in the condition required by the lease, allowing for fair wear and tear. Your entry condition report, tenancy agreement and any instructions from the property manager should guide the work. A thorough clean is often expected, but the exact standard can depend on the property, the agreement and the condition in which you received it.
Start with a realistic pre-tenancy cleaning plan
Before bringing out the cleaning products, walk through every room with your entry report and take current photos. This helps you separate everyday cleaning from damage, maintenance issues or marks that were already present when you moved in. If a blind is broken, grout is badly cracked or mould keeps returning because of a leak, tell the property manager rather than trying to conceal the issue with a quick clean.
Work from the top of each room down. Dusting ceiling fans before vacuuming floors avoids doubling up, and tackling the kitchen or bathroom first gives cleaning products time to work while you handle other areas. Keep a small box aside for the final clean with cloths, gloves, a non-abrasive sponge, vacuum attachments, a mop, a bucket and suitable products for glass, bathrooms and kitchens.
It is tempting to clean around packed boxes, but an empty room is far easier to inspect and clean properly. Schedule your main clean after furniture is removed where possible. That is when skirting boards, wall edges, cupboard interiors and the floor under the fridge become visible.
Essential pre-tenancy cleaning tasks by room
Kitchen: focus on grease, crumbs and hidden surfaces
Kitchens receive close attention because grease and food residue can build up slowly. Empty every cupboard and drawer, remove crumbs and wipe inside surfaces, handles and door fronts. Do not forget the tops of cupboards if they are accessible, as these can collect a surprising layer of dust and cooking grease.
Clean the cooktop according to its surface type. A ceramic cooktop needs a gentler approach than a stainless-steel gas hob, while oven racks may need soaking before scrubbing. Degrease the rangehood filters if your agreement requires it, wipe the splashback and clean behind and beside portable appliances.
The oven deserves extra time. Remove loose debris, clean the door glass and work through the interior without using harsh tools that could scratch enamel. If the oven has heavy, baked-on grime, professional help can be a sensible choice. An oven that looks clean at a glance but has greasy racks, a marked door seal or residue in the corners may still be picked up at inspection.
Finish with the sink, taps, benchtops and floor. Empty and wipe the fridge if it belongs to the property, leaving it switched off only if the agent has requested this. Check the dishwasher filter and detergent drawer as well. These small areas are easy to overlook when moving day is busy.
Bathroom and laundry: remove soap build-up carefully
Bathrooms need more than a fast wipe of the vanity. Clean the toilet inside and out, including the base, seat hinges and flush button. Wash the shower screen, tiles, taps, drain cover, bath and vanity, then polish mirrors to a streak-free finish.
Soap scum and mineral marks respond best when a suitable cleaner has time to sit before wiping. Avoid abrasive powders or rough scourers on delicate tapware, glass and acrylic surfaces. If mould is present, use an appropriate mould treatment, follow the product directions and ventilate the room. Persistent mould can indicate a ventilation or moisture issue, so document it and raise it with the property manager if needed.
In the laundry, clear lint from the dryer filter if a dryer is supplied, wipe the washing machine exterior and clean the trough. Check cupboards, splashbacks, taps and floors. A clean drain area makes a noticeable difference in a room that is often checked quickly but used heavily.
Bedrooms and living areas: clean what furniture has been hiding
Once rooms are empty, dust ceilings, fans, light fittings, vents, window sills, skirting boards and door frames. Wipe switches and handles gently, as these high-touch points can show fingerprints and grime. Spot-clean walls only where needed and test any product in an inconspicuous place first. Over-scrubbing can remove paint or leave obvious patches that look worse than the original mark.
Vacuum carpets slowly, including along edges and inside wardrobes. If the tenancy agreement or agent requests professional carpet cleaning, arrange it close to the end of the move so freshly cleaned carpet is not walked over repeatedly. Keep the receipt. For hard floors, vacuum first, then mop with a product suited to timber, laminate, tiles or vinyl. Too much water can damage some floor finishes.
Open and close every wardrobe, cupboard and internal door as you clean. Wipe shelves, tracks and handles, and remove adhesive hooks only if doing so will not damage the surface. Marks left by hooks, tape or wall art are better dealt with carefully than hidden behind furniture that is no longer there.
Windows, doors and outdoor areas: finish the visible details
Clean accessible internal windows, window tracks and flyscreens where required. A dry brush or vacuum attachment can remove dust from tracks before you wipe them, preventing muddy residue. Glass looks best when cleaned in the shade, as direct sun can dry product too quickly and leave streaks.
Wipe entry doors, internal doors and light switches, then check door tracks and thresholds for dust. If you have a balcony, courtyard or small outdoor area, remove personal items, sweep leaves, clear rubbish and tidy any areas you are responsible for under the agreement. Garden maintenance requirements vary, so check your lease before pruning or making changes.
Do not overlook these final inspection details
The most common misses are rarely dramatic. They are the small signs that a cleaner has rushed: a sticky bin lid, dusty air vent, hair in a shower drain, crumbs in a drawer or a smudged mirror. Before handing back the keys, complete one final walk-through in daylight.
Use this last check to make sure you have:
removed all rubbish, food and personal belongings from the home, letterbox, storage cage and outdoor areas
emptied and wiped bins, including kitchen, bathroom and recycling bins
checked behind doors, inside wardrobes and on high shelves for forgotten items
photographed each room after cleaning and retained receipts for any professional services
returned keys, remotes and access fobs as instructed by the agent or landlord.
Photos are not a substitute for cleaning, but they provide a helpful record of the condition in which you left the property. Take wide room shots as well as clear images of appliances, bathrooms, floors and any areas where a pre-existing issue was noted.
When a professional move-out clean is worth it
A DIY clean can work well when the home is already maintained, you have enough time and the job is limited to normal cleaning. It becomes harder when the property is large, the oven and bathrooms need deep cleaning, carpets require specialist equipment or your move date leaves little room for rework.
Professional cleaning can also reduce the pressure of coordinating a removalist, utility disconnections and final inspection in the same week. For Melbourne renters with a tight handover schedule, House Cleaner can take care of detailed move-in and move-out cleaning so you can focus on the practical parts of relocating. Confirm what is included before booking, especially for carpet cleaning, exterior windows, mould treatment or high-access work.
A clean handover is not about chasing perfection beyond your responsibilities. It is about giving the property a careful, honest reset, keeping clear records and leaving enough time to address anything noticed before the keys change hands.
The last few days of a tenancy can become a scramble of boxes, keys, removalists and paperwork. Completing the essential pre-tenancy cleaning tasks early gives you time to fix missed areas, present the property well and leave with greater confidence when the final inspection arrives.
For most renters, the aim is simple: return the home in the condition required by the lease, allowing for fair wear and tear. Your entry condition report, tenancy agreement and any instructions from the property manager should guide the work. A thorough clean is often expected, but the exact standard can depend on the property, the agreement and the condition in which you received it.
Start with a realistic pre-tenancy cleaning plan
Before bringing out the cleaning products, walk through every room with your entry report and take current photos. This helps you separate everyday cleaning from damage, maintenance issues or marks that were already present when you moved in. If a blind is broken, grout is badly cracked or mould keeps returning because of a leak, tell the property manager rather than trying to conceal the issue with a quick clean.
Work from the top of each room down. Dusting ceiling fans before vacuuming floors avoids doubling up, and tackling the kitchen or bathroom first gives cleaning products time to work while you handle other areas. Keep a small box aside for the final clean with cloths, gloves, a non-abrasive sponge, vacuum attachments, a mop, a bucket and suitable products for glass, bathrooms and kitchens.
It is tempting to clean around packed boxes, but an empty room is far easier to inspect and clean properly. Schedule your main clean after furniture is removed where possible. That is when skirting boards, wall edges, cupboard interiors and the floor under the fridge become visible.
Essential pre-tenancy cleaning tasks by room
Kitchen: focus on grease, crumbs and hidden surfaces
Kitchens receive close attention because grease and food residue can build up slowly. Empty every cupboard and drawer, remove crumbs and wipe inside surfaces, handles and door fronts. Do not forget the tops of cupboards if they are accessible, as these can collect a surprising layer of dust and cooking grease.
Clean the cooktop according to its surface type. A ceramic cooktop needs a gentler approach than a stainless-steel gas hob, while oven racks may need soaking before scrubbing. Degrease the rangehood filters if your agreement requires it, wipe the splashback and clean behind and beside portable appliances.
The oven deserves extra time. Remove loose debris, clean the door glass and work through the interior without using harsh tools that could scratch enamel. If the oven has heavy, baked-on grime, professional help can be a sensible choice. An oven that looks clean at a glance but has greasy racks, a marked door seal or residue in the corners may still be picked up at inspection.
Finish with the sink, taps, benchtops and floor. Empty and wipe the fridge if it belongs to the property, leaving it switched off only if the agent has requested this. Check the dishwasher filter and detergent drawer as well. These small areas are easy to overlook when moving day is busy.
Bathroom and laundry: remove soap build-up carefully
Bathrooms need more than a fast wipe of the vanity. Clean the toilet inside and out, including the base, seat hinges and flush button. Wash the shower screen, tiles, taps, drain cover, bath and vanity, then polish mirrors to a streak-free finish.
Soap scum and mineral marks respond best when a suitable cleaner has time to sit before wiping. Avoid abrasive powders or rough scourers on delicate tapware, glass and acrylic surfaces. If mould is present, use an appropriate mould treatment, follow the product directions and ventilate the room. Persistent mould can indicate a ventilation or moisture issue, so document it and raise it with the property manager if needed.
In the laundry, clear lint from the dryer filter if a dryer is supplied, wipe the washing machine exterior and clean the trough. Check cupboards, splashbacks, taps and floors. A clean drain area makes a noticeable difference in a room that is often checked quickly but used heavily.
Bedrooms and living areas: clean what furniture has been hiding
Once rooms are empty, dust ceilings, fans, light fittings, vents, window sills, skirting boards and door frames. Wipe switches and handles gently, as these high-touch points can show fingerprints and grime. Spot-clean walls only where needed and test any product in an inconspicuous place first. Over-scrubbing can remove paint or leave obvious patches that look worse than the original mark.
Vacuum carpets slowly, including along edges and inside wardrobes. If the tenancy agreement or agent requests professional carpet cleaning, arrange it close to the end of the move so freshly cleaned carpet is not walked over repeatedly. Keep the receipt. For hard floors, vacuum first, then mop with a product suited to timber, laminate, tiles or vinyl. Too much water can damage some floor finishes.
Open and close every wardrobe, cupboard and internal door as you clean. Wipe shelves, tracks and handles, and remove adhesive hooks only if doing so will not damage the surface. Marks left by hooks, tape or wall art are better dealt with carefully than hidden behind furniture that is no longer there.
Windows, doors and outdoor areas: finish the visible details
Clean accessible internal windows, window tracks and flyscreens where required. A dry brush or vacuum attachment can remove dust from tracks before you wipe them, preventing muddy residue. Glass looks best when cleaned in the shade, as direct sun can dry product too quickly and leave streaks.
Wipe entry doors, internal doors and light switches, then check door tracks and thresholds for dust. If you have a balcony, courtyard or small outdoor area, remove personal items, sweep leaves, clear rubbish and tidy any areas you are responsible for under the agreement. Garden maintenance requirements vary, so check your lease before pruning or making changes.
Do not overlook these final inspection details
The most common misses are rarely dramatic. They are the small signs that a cleaner has rushed: a sticky bin lid, dusty air vent, hair in a shower drain, crumbs in a drawer or a smudged mirror. Before handing back the keys, complete one final walk-through in daylight.
Use this last check to make sure you have:
removed all rubbish, food and personal belongings from the home, letterbox, storage cage and outdoor areas
emptied and wiped bins, including kitchen, bathroom and recycling bins
checked behind doors, inside wardrobes and on high shelves for forgotten items
photographed each room after cleaning and retained receipts for any professional services
returned keys, remotes and access fobs as instructed by the agent or landlord.
Photos are not a substitute for cleaning, but they provide a helpful record of the condition in which you left the property. Take wide room shots as well as clear images of appliances, bathrooms, floors and any areas where a pre-existing issue was noted.
When a professional move-out clean is worth it
A DIY clean can work well when the home is already maintained, you have enough time and the job is limited to normal cleaning. It becomes harder when the property is large, the oven and bathrooms need deep cleaning, carpets require specialist equipment or your move date leaves little room for rework.
Professional cleaning can also reduce the pressure of coordinating a removalist, utility disconnections and final inspection in the same week. For Melbourne renters with a tight handover schedule, House Cleaner can take care of detailed move-in and move-out cleaning so you can focus on the practical parts of relocating. Confirm what is included before booking, especially for carpet cleaning, exterior windows, mould treatment or high-access work.
A clean handover is not about chasing perfection beyond your responsibilities. It is about giving the property a careful, honest reset, keeping clear records and leaving enough time to address anything noticed before the keys change hands.
A final inspection can feel like the last hurdle between you and your bond. Australian rental cleaning standards are often discussed as though they require a spotless, brand-new property, but that is not the test. The real expectation is that a tenant returns the property in a reasonably clean condition, taking account of its condition at the start of the tenancy and allowing for fair wear and tear.
That distinction matters. It helps renters avoid paying for unnecessary work, gives property managers a clearer basis for inspection, and keeps end-of-lease cleaning focused on the jobs that genuinely affect the handover.
What Australian rental cleaning standards actually mean
There is no single national rulebook that lists every cupboard, tile and window a tenant must clean. Rental laws and tenancy agreements are administered by each state and territory, and the wording can differ. In practice, however, the same principle applies across Australia: leave the home as clean as it was when the tenancy began, except for reasonable wear caused by ordinary living.
The entry condition report is the starting point. It records the property’s state when the keys were handed over, ideally with dated photos. If a blind was dusty, a wall had marks, or carpet carried an existing stain at the beginning of the lease, a tenant is not usually responsible for making that item better than it was.
A useful way to think about the standard is simple: remove the dirt, grease, dust, rubbish and build-up created during your tenancy. Do not confuse cleaning with repairing age-related deterioration or damage that was already there.
Cleanliness is different from fair wear and tear
Fair wear and tear is gradual deterioration from normal use. Faded curtains from sunlight, worn carpet in a busy hallway and small scuffs from everyday furniture use may fall into this category, depending on the circumstances and condition report.
Cleaning issues are different. Grease left inside an oven, soap residue on shower screens, food crumbs in drawers, dust on skirting boards and litter left in the garden are generally matters a tenant should address. Damage is different again. A broken fitting, burn mark, pet damage or a large stain may require repair or compensation, rather than a cleaning service alone.
This is why a rushed clean can become costly. A property may look tidy at first glance while still failing an inspection because the detailed areas that collect grime have been missed.
The condition report should guide the clean
Before buying products or booking a cleaner, read the entry condition report alongside the latest inspection report, if one is available. Walk through each room with your mobile and take current photos. This gives you a practical scope of work and evidence of the property’s final condition.
Pay close attention to any special terms in the lease. Some agreements include requirements around professional carpet cleaning, flea treatment where pets have lived at the property, or cleaning particular inclusions such as blinds. A special term does not remove the need for it to be reasonable and lawful, but it should never be ignored. If you are unsure about a requirement, ask the property manager to clarify it in writing before the final week.
For Melbourne renters, this preparation can be especially useful during busy moving periods, when removalists, cleaners and final inspections are all competing for limited time. A clear checklist prevents last-minute surprises.
The areas inspectors commonly notice
A good end-of-lease clean is detailed, not just surface-level. Kitchens and bathrooms usually receive the closest attention because grease, scale and moisture build-up are obvious and can take time to remove.
Kitchen
The oven, cooktop and rangehood deserve dedicated attention. Remove loose crumbs first, then treat built-up grease safely according to the appliance manufacturer’s instructions. Clean the oven door, racks, trays, splashback, bench edges, sink, taps and the exterior of appliances included with the property.
Empty every cupboard and drawer, wipe inside and out, and check the top of cabinets where dust and cooking residue can settle unnoticed. Do not leave food, cleaning products or rubbish behind unless the property manager has expressly agreed to keep an item.
Bathroom and laundry
Limescale, soap scum and mould are frequent inspection issues. Clean the shower screen, tiles, grout, bath, vanity, toilet, mirrors and taps. Clear hair and residue from drains where safe to do so, and wipe exhaust fan covers and laundry surfaces.
Mould needs care. Light surface mould may be cleaned with an appropriate product and ventilation, but widespread or recurring mould can be linked to a maintenance issue, leak or poor ventilation. Photograph it and raise it with the property manager rather than simply covering it up. Your cleaning responsibility depends on the cause.
Living spaces and bedrooms
Vacuum carpets thoroughly, including along edges and under furniture that remains. Hard floors should be vacuumed or swept and then mopped with a suitable product. Wipe skirting boards, light switches, door handles, window sills, wardrobes and visible marks on walls where they can be removed without damaging the paint.
Dust ceiling fans, vents, blinds and accessible light fittings. Be cautious with high areas, delicate blinds and painted surfaces. A cleaning result is not worth an injury or accidental damage charge.
Windows, outdoor areas and rubbish
Clean internal window glass and tracks where they are reasonably accessible. Exterior window cleaning may depend on access, safety and what is stated in the lease. Never attempt upper-level external windows without appropriate equipment.
Balconies, courtyards and gardens should be left neat. Remove personal belongings, sweep hard surfaces, clear rubbish and deal with pet waste. Garden care requirements vary, particularly where a home has established landscaping, so compare the outdoor area with the entry report rather than guessing.
Do you need professional end-of-lease cleaning?
Not every rental requires a professional cleaner. If you have time, suitable equipment and the property is modest in size or well maintained, a careful DIY clean may meet the required standard. The key is being realistic about the labour involved, particularly after packing and moving.
Professional help can be worthwhile when the property has heavily used kitchens or bathrooms, carpets that need specialised treatment, large windows, built-up grime, limited time or a strict handover date. A trained cleaning team can also manage the detailed jobs people commonly overlook, such as rangehood filters, tracks, grout, blinds and skirting boards.
The trade-off is cost versus time and confidence. A cleaner cannot fix pre-existing defects or tenant damage, and no honest service can promise a bond outcome that depends on a property manager, the condition report and the tenancy circumstances. What a professional clean can do is bring the property to a clear, inspection-ready standard and provide a record of the work completed.
If you engage a service, be specific about the property type, number of rooms, carpets, windows and any problem areas. Book early, especially if cleaning needs to happen after removalists leave but before keys are returned. House Cleaner can assist with move-in and move-out cleaning, carpet cleaning, window cleaning and post-renovation work when a property needs more than a quick surface clean.
Avoid the mistakes that lead to repeat cleaning
The most common error is cleaning before the home is empty. Furniture hides dust, boxes create clutter and removalists can leave marks or debris behind. Whenever possible, schedule the detailed clean after possessions have been removed.
Another mistake is relying on an informal checklist without checking the entry report. A property manager may reasonably ask for a missed cleaning item to be addressed, but they should not expect a tenant to improve pre-existing wear or undertake work outside their responsibility.
Finally, do not hand back keys without doing your own final walk-through. Open cupboards, turn on lights, check the oven, look behind doors and inspect the bathroom in daylight. Take clear photos after cleaning, including wide shots and close-ups of key areas. Keep receipts and written communications until the bond has been finalised.
A calm, well-planned handover starts with the condition report and ends with a home that is clean, empty and ready for the next resident. Give yourself enough time to inspect the details, or arrange dependable help before moving day turns into a deadline.
Fresh paint and new finishes can make a renovated home look nearly complete, but renovation dust has a way of settling everywhere: inside cupboards, along skirting boards, on window tracks and through soft furnishings. Knowing how to clean after renovation means working in the right order, using the right products and allowing enough time for fine dust to be removed properly rather than simply moved around.
Post-renovation cleaning is more detailed than a standard house clean. Plaster dust, sawdust, grout haze, silicone marks and paint splatters each need a different approach. A careful plan protects your new surfaces while making the space safe, comfortable and ready to use.
Start only when the work is truly finished
Before cleaning begins, confirm that trades have removed their tools, offcuts and building materials. Ask whether any paint, grout, adhesive or sealant still needs curing. Cleaning too early can leave fingerprints in fresh paint, damage new sealant or create more work once another trade returns.
Open windows where practical and safe, then switch off air conditioning while you tackle loose dust. This reduces the chance of dust being drawn into vents and recirculated through the room. If you have sensitive airways, wear a well-fitted mask and gloves, especially when cleaning fine plaster or timber dust.
Walk through each room first. Look for defects such as chipped tiles, scratched glass, paint drips or damaged fittings, and photograph anything that needs to be raised with your builder before cleaning it. Once a mark has been scrubbed, it can be difficult to show what was there originally.
How to clean after renovation in the right order
The biggest mistake is mopping floors first. Dust falls downward, so clean from the highest point in the room to the lowest, and from the back of the room towards the exit. This prevents recontaminating areas you have already finished.
Start with ceilings, cornices, light fittings, air vents and the tops of cabinetry. A vacuum with a clean brush attachment works well for loose dust, provided the filter is suitable for fine particles. Follow with a dry microfibre cloth or duster. Avoid soaking dusty surfaces at this stage, as plaster dust can turn into a stubborn paste.
Next, clean walls, doors, frames, cupboards and benchtops. Use a lightly damp microfibre cloth and a mild, surface-appropriate cleaner. Test any product in an inconspicuous spot first, particularly on natural stone, timber, painted cabinetry and matte finishes. New materials often look durable but can be surprisingly easy to mark.
Glass, mirrors and windows should come after surrounding frames and tracks have been vacuumed. Otherwise, grit can scratch the surface as you wipe. Use a clean glass cloth rather than paper towel, which can leave lint behind.
Floors come last. Vacuum slowly, including edges, corners and underneath newly installed cabinetry where accessible. Then mop using the cleaner recommended for the floor type. Timber, laminate, polished concrete and natural stone all have different care requirements, and too much water can cause damage.
Give kitchens and bathrooms extra attention
Kitchens and bathrooms collect the most construction residue because they contain multiple finishes in a small space. They also need to be hygienic before everyday use.
In the kitchen, clean inside and outside every cupboard, drawer and pantry. Fine dust often settles behind drawer runners and along shelf joins. Wipe splashbacks, benchtops, taps, handles and appliances, then polish stainless steel in the direction of the grain. Check the rangehood filters and remove dust from the exterior before cooking begins.
For bathrooms, remove dust from exhaust fans, vanity drawers, shower frames, taps, tiles and toilet bases. Grout haze on new tiles needs care. A harsh acidic product may damage natural stone, coloured grout or some finishes, so always identify the tile material first. For light residue on ceramic or porcelain tile, a mild cleaner and non-scratch pad may be enough.
Check silicone lines around sinks, showers and baths. If sealant is newly applied, follow the installer’s curing advice and do not scrub it prematurely. Once cured, a gentle wipe is generally all that is needed.
Remove common renovation marks without damaging finishes
Not every spot needs stronger chemicals. In fact, aggressive scrubbing can dull new paint, scratch chrome or strip protective coatings. Begin with the mildest suitable option and increase only if necessary.
For paint splatters on glass or tiles, soften the spot with warm water and carefully lift it with a plastic scraper. Keep the scraper flat to reduce the risk of scratching. On painted walls, use a damp cloth and gentle pressure rather than solvent.
Adhesive residue can sometimes be lifted with a small amount of suitable adhesive remover, but test first and keep it away from porous stone, timber and freshly painted surfaces. Silicone smears are best addressed carefully with a plastic tool once the silicone has cured. If you are unsure what the residue is, ask the relevant trade before applying a product.
Construction dust inside window tracks, sliding door channels and tight corners is best vacuumed with a crevice tool before wiping. Repeated passes are normal. Fine dust is persistent, and one quick clean rarely removes it all.
Do not forget the areas dust travels to
Renovation dust does not stay in the renovated room. It moves through hallways, settles in bedrooms and clings to fabric. Even if doors were closed during the work, plan to clean adjoining spaces as well.
Wash or vacuum curtains according to their care labels, and vacuum upholstered furniture using an upholstery attachment. Launder removable cushion covers and bedding if the work created significant dust. Rugs and carpets may need a slow, thorough vacuum on more than one occasion. A professional carpet clean can be worthwhile after larger projects or sanding work, particularly if dust has been walked through the home.
Replace or clean air-conditioning filters once work is complete. Wipe vents and consider having the system checked if there was extensive plaster, timber or concrete dust. This small step can make a noticeable difference to indoor air quality after you move back into the space.
Outside, sweep entryways, balconies and footpaths where permitted, then wipe external window frames and tracks. Avoid hosing construction debris into drains. Collect it and dispose of it responsibly instead.
When professional after-renovation cleaning is the better choice
A small bathroom refresh may be manageable over a weekend. A full kitchen renovation, extension, office fit-out or multi-room project is different. It can take many hours of detailed cleaning, specialised equipment and repeat dust removal to reach a genuinely finished result.
Professional help is particularly useful when you are preparing to move in, handing a rental back to an agent, reopening a business or trying to meet a builder’s handover deadline. Trained cleaners know where residue hides and can work through the property methodically, from high surfaces to floors, without overlooking the practical details that make a home feel ready.
For Melbourne households and businesses, House Cleaner provides after-renovation cleaning support designed to take this demanding final task off your list. It is a practical option when your time is already tied up with trades, furniture deliveries and the rest of the move back in.
A renovation should end with the satisfaction of using a clean, finished space, not another exhausting weekend of dusting. Take the work one room at a time, treat new finishes gently and give fine dust the extra attention it demands. When the job is larger than your available time, reliable cleaning support can help the final reveal feel like the fresh start it should be.