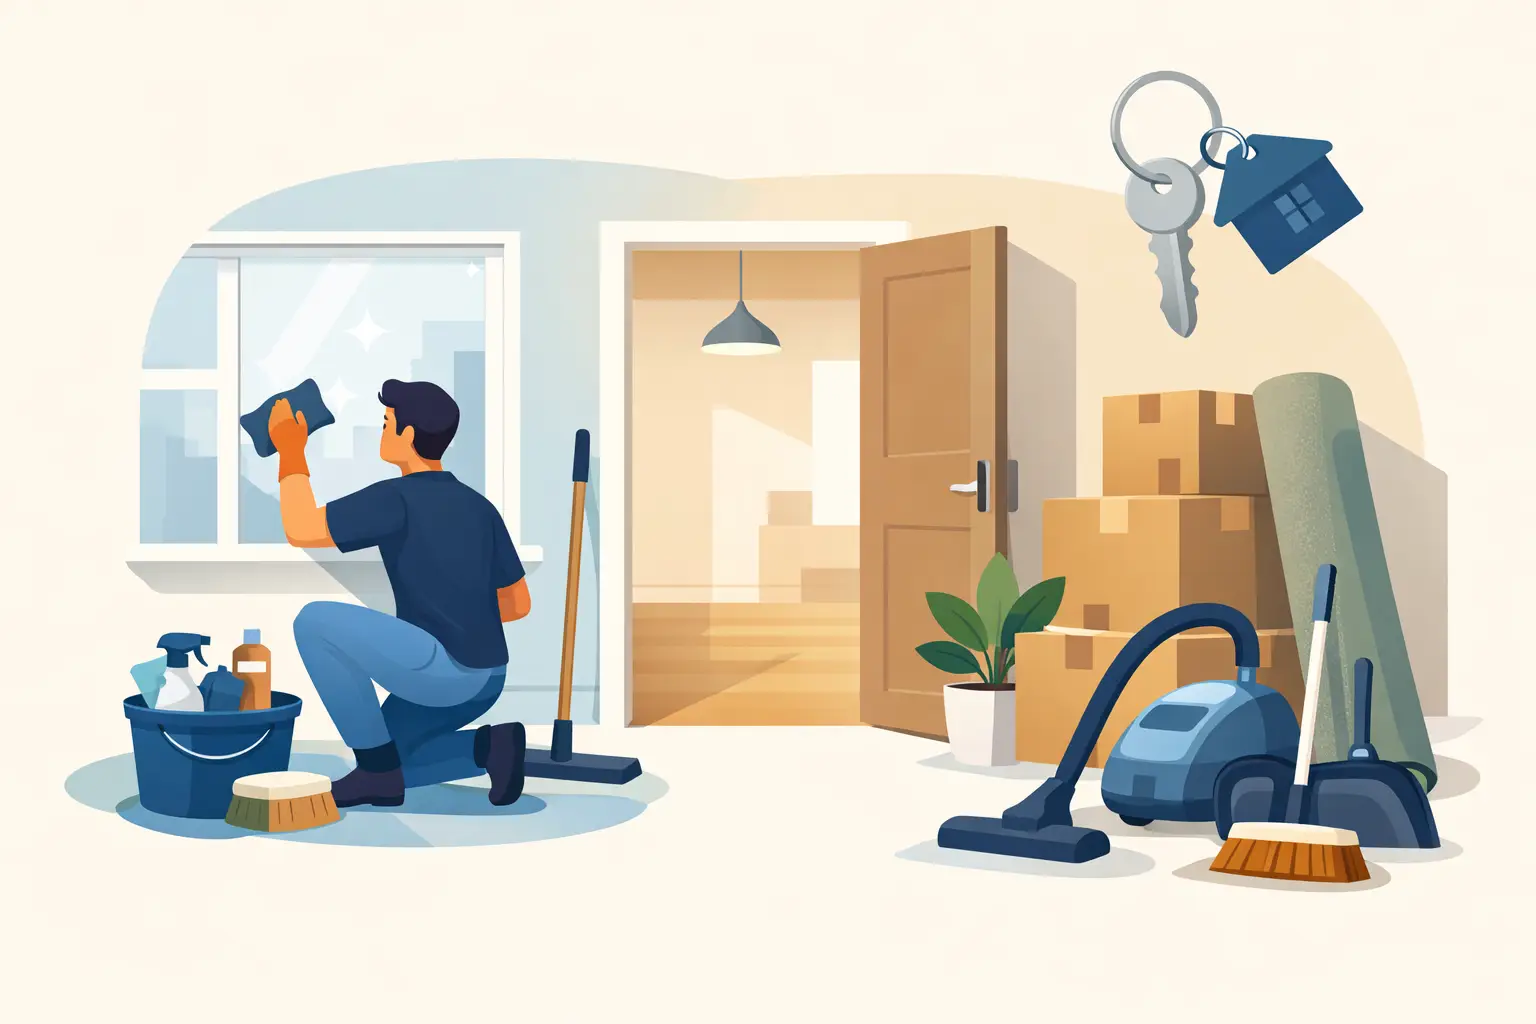
The last few days of a tenancy can become a scramble of boxes, keys, removalists and paperwork. Completing the essential pre-tenancy cleaning tasks early gives you time to fix missed areas, present the property well and leave with greater confidence when the final inspection arrives.
For most renters, the aim is simple: return the home in the condition required by the lease, allowing for fair wear and tear. Your entry condition report, tenancy agreement and any instructions from the property manager should guide the work. A thorough clean is often expected, but the exact standard can depend on the property, the agreement and the condition in which you received it.
Start with a realistic pre-tenancy cleaning plan
Before bringing out the cleaning products, walk through every room with your entry report and take current photos. This helps you separate everyday cleaning from damage, maintenance issues or marks that were already present when you moved in. If a blind is broken, grout is badly cracked or mould keeps returning because of a leak, tell the property manager rather than trying to conceal the issue with a quick clean.
Work from the top of each room down. Dusting ceiling fans before vacuuming floors avoids doubling up, and tackling the kitchen or bathroom first gives cleaning products time to work while you handle other areas. Keep a small box aside for the final clean with cloths, gloves, a non-abrasive sponge, vacuum attachments, a mop, a bucket and suitable products for glass, bathrooms and kitchens.
It is tempting to clean around packed boxes, but an empty room is far easier to inspect and clean properly. Schedule your main clean after furniture is removed where possible. That is when skirting boards, wall edges, cupboard interiors and the floor under the fridge become visible.
Essential pre-tenancy cleaning tasks by room
Kitchen: focus on grease, crumbs and hidden surfaces
Kitchens receive close attention because grease and food residue can build up slowly. Empty every cupboard and drawer, remove crumbs and wipe inside surfaces, handles and door fronts. Do not forget the tops of cupboards if they are accessible, as these can collect a surprising layer of dust and cooking grease.
Clean the cooktop according to its surface type. A ceramic cooktop needs a gentler approach than a stainless-steel gas hob, while oven racks may need soaking before scrubbing. Degrease the rangehood filters if your agreement requires it, wipe the splashback and clean behind and beside portable appliances.
The oven deserves extra time. Remove loose debris, clean the door glass and work through the interior without using harsh tools that could scratch enamel. If the oven has heavy, baked-on grime, professional help can be a sensible choice. An oven that looks clean at a glance but has greasy racks, a marked door seal or residue in the corners may still be picked up at inspection.
Finish with the sink, taps, benchtops and floor. Empty and wipe the fridge if it belongs to the property, leaving it switched off only if the agent has requested this. Check the dishwasher filter and detergent drawer as well. These small areas are easy to overlook when moving day is busy.
Bathroom and laundry: remove soap build-up carefully
Bathrooms need more than a fast wipe of the vanity. Clean the toilet inside and out, including the base, seat hinges and flush button. Wash the shower screen, tiles, taps, drain cover, bath and vanity, then polish mirrors to a streak-free finish.
Soap scum and mineral marks respond best when a suitable cleaner has time to sit before wiping. Avoid abrasive powders or rough scourers on delicate tapware, glass and acrylic surfaces. If mould is present, use an appropriate mould treatment, follow the product directions and ventilate the room. Persistent mould can indicate a ventilation or moisture issue, so document it and raise it with the property manager if needed.
In the laundry, clear lint from the dryer filter if a dryer is supplied, wipe the washing machine exterior and clean the trough. Check cupboards, splashbacks, taps and floors. A clean drain area makes a noticeable difference in a room that is often checked quickly but used heavily.
Bedrooms and living areas: clean what furniture has been hiding
Once rooms are empty, dust ceilings, fans, light fittings, vents, window sills, skirting boards and door frames. Wipe switches and handles gently, as these high-touch points can show fingerprints and grime. Spot-clean walls only where needed and test any product in an inconspicuous place first. Over-scrubbing can remove paint or leave obvious patches that look worse than the original mark.
Vacuum carpets slowly, including along edges and inside wardrobes. If the tenancy agreement or agent requests professional carpet cleaning, arrange it close to the end of the move so freshly cleaned carpet is not walked over repeatedly. Keep the receipt. For hard floors, vacuum first, then mop with a product suited to timber, laminate, tiles or vinyl. Too much water can damage some floor finishes.
Open and close every wardrobe, cupboard and internal door as you clean. Wipe shelves, tracks and handles, and remove adhesive hooks only if doing so will not damage the surface. Marks left by hooks, tape or wall art are better dealt with carefully than hidden behind furniture that is no longer there.
Windows, doors and outdoor areas: finish the visible details
Clean accessible internal windows, window tracks and flyscreens where required. A dry brush or vacuum attachment can remove dust from tracks before you wipe them, preventing muddy residue. Glass looks best when cleaned in the shade, as direct sun can dry product too quickly and leave streaks.
Wipe entry doors, internal doors and light switches, then check door tracks and thresholds for dust. If you have a balcony, courtyard or small outdoor area, remove personal items, sweep leaves, clear rubbish and tidy any areas you are responsible for under the agreement. Garden maintenance requirements vary, so check your lease before pruning or making changes.
Do not overlook these final inspection details
The most common misses are rarely dramatic. They are the small signs that a cleaner has rushed: a sticky bin lid, dusty air vent, hair in a shower drain, crumbs in a drawer or a smudged mirror. Before handing back the keys, complete one final walk-through in daylight.
Use this last check to make sure you have:
- removed all rubbish, food and personal belongings from the home, letterbox, storage cage and outdoor areas
- emptied and wiped bins, including kitchen, bathroom and recycling bins
- checked behind doors, inside wardrobes and on high shelves for forgotten items
- photographed each room after cleaning and retained receipts for any professional services
- returned keys, remotes and access fobs as instructed by the agent or landlord.
Photos are not a substitute for cleaning, but they provide a helpful record of the condition in which you left the property. Take wide room shots as well as clear images of appliances, bathrooms, floors and any areas where a pre-existing issue was noted.
When a professional move-out clean is worth it
A DIY clean can work well when the home is already maintained, you have enough time and the job is limited to normal cleaning. It becomes harder when the property is large, the oven and bathrooms need deep cleaning, carpets require specialist equipment or your move date leaves little room for rework.
Professional cleaning can also reduce the pressure of coordinating a removalist, utility disconnections and final inspection in the same week. For Melbourne renters with a tight handover schedule, House Cleaner can take care of detailed move-in and move-out cleaning so you can focus on the practical parts of relocating. Confirm what is included before booking, especially for carpet cleaning, exterior windows, mould treatment or high-access work.
A clean handover is not about chasing perfection beyond your responsibilities. It is about giving the property a careful, honest reset, keeping clear records and leaving enough time to address anything noticed before the keys change hands.