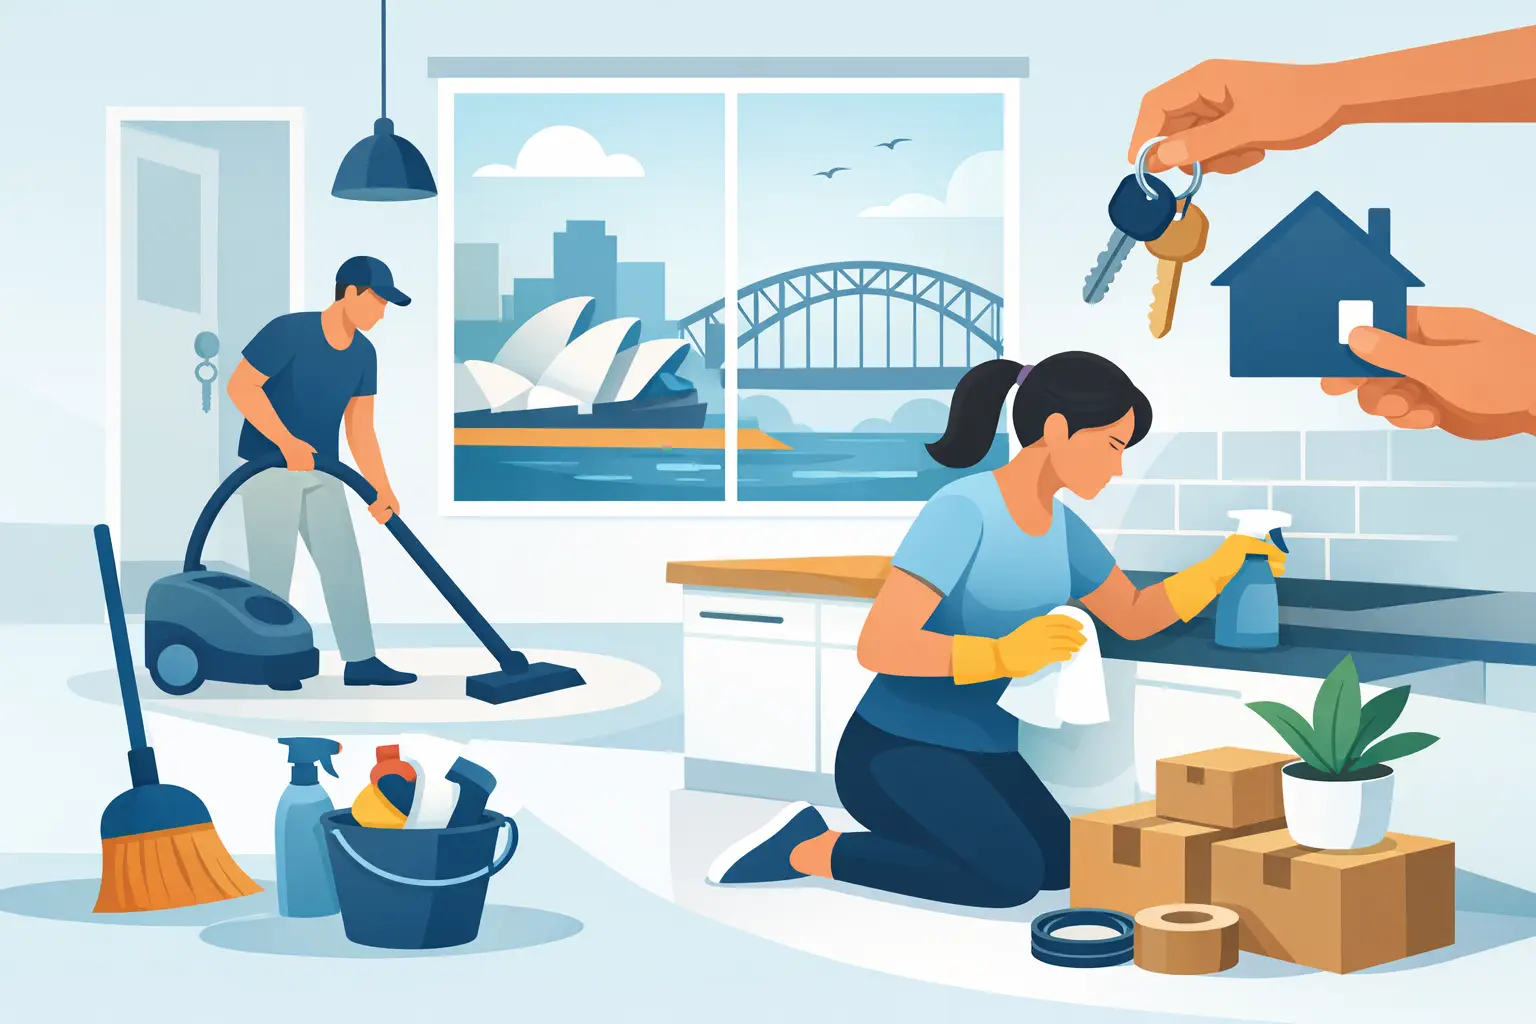
A final inspection can feel like a high-stakes walkthrough of every mark, crumb and water spot left behind. This end of lease cleaning guide is designed to help Australian renters prepare methodically, meet reasonable tenancy expectations and give themselves the best chance of a smooth bond return.
The goal is not to make an older property look brand new. It is to return it in a reasonably clean condition that reflects the property’s state at the start of the tenancy, allowing for fair wear and tear. Your entry condition report, photos and tenancy agreement are the starting point for every cleaning decision.
Start with the condition report, not the mop
Before buying products or booking help, read your original entry condition report alongside any photos taken when you moved in. Look carefully at notes about existing marks on walls, worn carpet, stained grout, damaged blinds or ageing appliances. These records help distinguish a cleaning issue from pre-existing damage or normal wear.
Fair wear and tear can include faded paint, gently worn carpet in high-traffic areas or minor ageing from normal use. Heavy grease build-up, mould caused by poor ventilation, spills left in carpet, broken fittings and excessive grime are different matters. If you are unsure, speak with your property manager before handover rather than guessing.
Check the agreement for any specific requirements as well. Some leases may address professional carpet cleaning, pest treatment where pets have lived in the property, or the return of keys, remotes and access cards. Requirements can vary, so avoid paying for services that are not applicable to your tenancy.
Make a room-by-room end of lease cleaning plan
Moving creates clutter quickly. Packing first makes cleaning far more effective because cupboards, floors and corners are fully accessible. Work from high areas to low areas, and from dry tasks to wet tasks, so dust and debris are not spread over surfaces you have already cleaned.
A practical order is bedrooms and living areas first, then bathrooms, kitchen, laundry and outdoor spaces. Leave floors until the end. Keep your phone handy to take clear, dated photos after each area is finished.
Bedrooms and living areas
Remove all personal belongings and rubbish, including items in wardrobes, drawers, storage cupboards and on balconies. Dust skirting boards, ceiling fans, light fittings, vents, window sills and the tops of doors. Wipe switches, handles and built-in shelving with a suitable product.
Vacuum carpet thoroughly, paying extra attention to edges and under furniture marks. If there are stains or lingering odours, carpet cleaning may be needed. Test any spot treatment in an inconspicuous patch first, particularly on delicate wool or coloured carpet. For hard floors, vacuum before mopping and use only enough water for the surface type.
Clean internal windows, tracks and flyscreens where safely accessible. Window tracks often collect dust, dead insects and mould, making an otherwise clean room appear neglected. Do not attempt exterior windows at height or jobs that require specialised equipment.
Bathrooms and toilets
Bathrooms attract close scrutiny because soap scum and mould can build up gradually. Apply cleaner to showers, screens, tiles, taps and toilets first, allowing it time to work while you dust and wipe other areas.
Focus on shower screen edges, grout lines, drains, exhaust fans, mirrors, vanity drawers and the space behind the toilet. Remove hair from drains where possible and check that plugholes are clear. A clean bathroom should look dry and fresh, not just recently sprayed with product.
Mould needs careful treatment. Improve ventilation while cleaning, wear gloves and follow the product instructions. Never mix cleaning chemicals, particularly bleach and ammonia-based products, as the fumes can be dangerous. Persistent mould may be linked to a building issue, so document it and raise it with the property manager if it was present from the beginning or keeps returning despite reasonable care.
Kitchen and laundry
The kitchen usually takes the longest, largely because of grease. Empty every cupboard and drawer, vacuum crumbs, then wipe inside and out. Clean splashbacks, benchtops, sink, taps, handles and the space around appliances. Do not forget rangehood filters, which often need to be removed and degreased according to the manufacturer’s instructions.
For the oven, remove racks and clean them separately. Use a product suitable for the oven surface and avoid harsh scraping that can damage glass or enamel. Check the cooktop, control knobs and the area between the oven and cabinetry. A quick wipe across visible surfaces rarely removes the build-up that inspections reveal.
In the laundry, clean the tub, taps, cabinets and lint filter. Wipe behind and beside appliances if they can be moved safely. If a washing machine is staying at the property, run an appropriate cleaning cycle if needed and leave the door slightly open once dry to prevent musty odours.
Outdoor areas and final details
If your lease includes a courtyard, balcony, garage or garden, remove rubbish and sweep all hard surfaces. Clear leaves from drains and tidy garden beds to the standard recorded at the start of the tenancy. Avoid major pruning or landscaping unless you know it is your responsibility.
Then complete a final pass through the property. Check inside the dishwasher, microwave, wardrobes, letterbox and bin area. Replace blown light globes where required, remove hooks only if authorised and ensure all keys, remotes and garage fobs are accounted for. These smaller details can delay an otherwise straightforward handover.
Know when professional help is worth it
A DIY clean can work well when the property has been maintained regularly, you have enough time and the job is within your capability. The trade-off is that end of lease cleaning is more detailed than a standard weekly clean, and the last few days of moving are often the busiest.
Professional support can be worthwhile for a large home, a tight settlement deadline, heavy kitchen grease, detailed window cleaning or carpet stains. It can also reduce the pressure when you are coordinating removalists, work commitments and a new home at the same time. If you book a cleaning team, provide the property size, number of bathrooms, condition concerns and any requested extras upfront so the scope is clear.
House Cleaner’s trained, vetted team can assist with move-out cleaning and related services such as carpet or window cleaning, giving busy renters one less task to manage. Keep all invoices and communicate with your property manager about any service requirements before the inspection.
Avoid the mistakes that create re-cleaning requests
The most common issue is cleaning only what is immediately visible. Property managers often check oven interiors, exhaust fans, drawer interiors, window tracks, behind doors and shower edges. Build time into your schedule for these areas rather than treating them as an afterthought.
Another mistake is using the wrong product. Strong chemicals can strip finishes, damage stone benchtops, cloud shower screens or discolour carpet. Follow care instructions for appliances and surfaces, and use gentle, suitable products where possible. More product does not always mean a better result.
Finally, do not hand back the property without evidence of its condition. Photograph each room in good light, including appliances, bathrooms, floors and outdoor areas. Save cleaning receipts, return every key and request confirmation of the final inspection outcome in writing.
Give yourself a realistic timeline
For a small, well-kept apartment, allow at least a full day after the property is empty. A larger home, a property with pets, or a kitchen and bathrooms needing extra attention may take substantially longer. If carpet cleaning, pest treatment or external work is required, schedule it around access arrangements and the key-return date.
The calmest move-outs are rarely the ones where everything is done at the last minute. Start with the condition report, clean with a clear plan and leave enough time for a final check. A clean, carefully documented handover is a practical way to close one chapter and start the next with less stress.